Introduction
TFTP stands for Trivial File Transfer Protocol. It is a older lockstep protocol that was standardized in 1981, but it is still commonly used now days. Lockstep means that it can support multiple parallel operations. It was originally used to boot operating systems off of a network. Today, it is used quick and easy way to move files across a network. We usually use it to copy Cisco configurations and firmware to and from devices.
The intent of this article is show you how to use a TFTP server and client. For an example, we will demonstrate how to upload a Cisco ASA VPN client package install package.
TFTP in of itself offers no security.
TFTP does not provide role based access control (RBAC). There are a few tricks to limit how much a connection can move between directories, but that is about it as far as security. As there is no RBAC, you can read and write to files on the TFTP. In other words, bad players could change good files to be malicious. That is another good reason to run checksums. If you want something that is more secure, you could create a machine that supports SSH logins and setup a push or a pull from the end device. Most Cisco devices can be configured to support SSH logins.
TFTP uses UDP, so it is advisable to run a checksum after the file copy.
For several other articles specifically discussing how to upgrade various pieces of Cisco equipment check out the following:
- To upgrade a Cisco ASA's operating system, click here.
- To upgrade a Cisco Catalyst's operating system, click here.
- To upgrade a Cisco Nexus's operating system, click here.
TFTP Servers
There are several TFTP servers out there, but we have personally used all of the following. There are servers out there for Macs or Linux, but we are going to stick to Windows.
TFTPD64
Thoughts
TFTP64 is a wonderful little server. The two benefits are that it is a small file size and there is no installer as a portable option is available. If you only want to stand a server up for a quick upgrade, this is certainly the way to go.
TFTP64 is what we are going to use for our demonstration.
Download Link
SolarWinds TFTP Server
Thoughts
SolarWinds makes a large suite of monitoring tools. They are very powerful, but expensive. Fortunately, for us though, the TFTP server is free. There one downside is that it uses a installer.
If you want to stand something up permanently on Windows, this is probably the best route.
Download Link
https://www.solarwinds.com/free-tools/free-tftp-server
VanDyke Secure CRT
Thoughts
We are big fans of Secure CRT. Tim was personally very sad when they stopped supporting Red Hat Enterprise Linux distributions. We digress.
Secure CRT is really more of a remote connectivity tool. Their Windows edition is fantastic and has a TON of features for RDP and a ton of SSL ciphers for SSH. Secure CRT also supports macOS 13+ and Ubuntu 20.04+ LTS versions.
Secure CRT has a feature to run a TFTP server from within the software. There aren't a ton of features, but remember, TFTP does not support a ton of functionality to begin with. The VanDyke software company has also developed a dedicate file transfer packages for file copies called Secure FX.
Sadly, there is a cost to Secure CRT and FX. All things considered, it is reasonable. They have a cult like following. So if you need to remote to a ton of different operating systems/devices, Secure CRT is the way to go.
Download Link
Firewall Changes
Please open the following firewall port: 69 / UDP.
Server Setup
- Open the firewall port 69 / UDP if you have not already done so.
- Download the portable version of TFTP64 (or the installable version) from the link above.
- Open (or install then open) the application.
- You will be greeted by a basic log window with several buttons.
- Click on the Settings button and we will customize a few items.

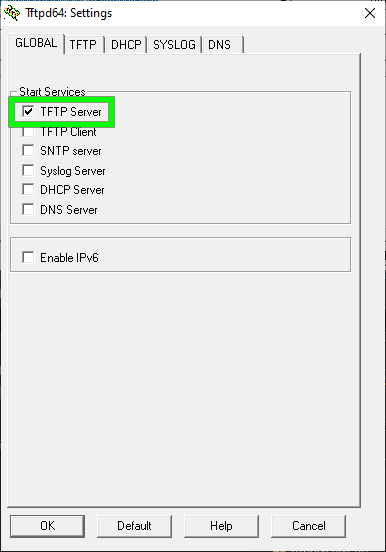
- Click on the Global tab.
- Uncheck everything except TFTP.
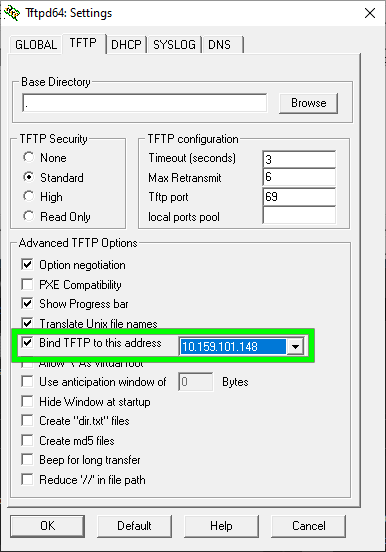
- Click on the TFTP tab.
- The only thing to change on this tab is to check the "Bind TFTP to this address" and select your NIC that is LAN bound.
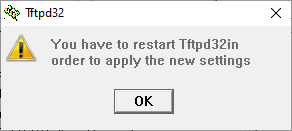
- Click OK and you will be prompted to restart TFTP64.
- Click OK.
Client Setup
- At this point, it is assumed that:
- Your device has been configured to be connected to your network.
- Your TFTP server has allowed port 69 / UDP through the firewall.
- If you are a connecting your device to a TFTP server that is on a different network, that the TFTP port has been allowed through your firewall
- If you are going to connect to your ASA (or other device) using a console cable, go ahead and connect that now.
- If you are using a console cable, go to Windows Device Manager and note the COM port that your USB/serial cable is using
- Open Secure CRT, Putty, or whichever software package that you use to SSH or console into your device. Hopefully you are not using telnet ;)
- Connect to your device through your remote connection software
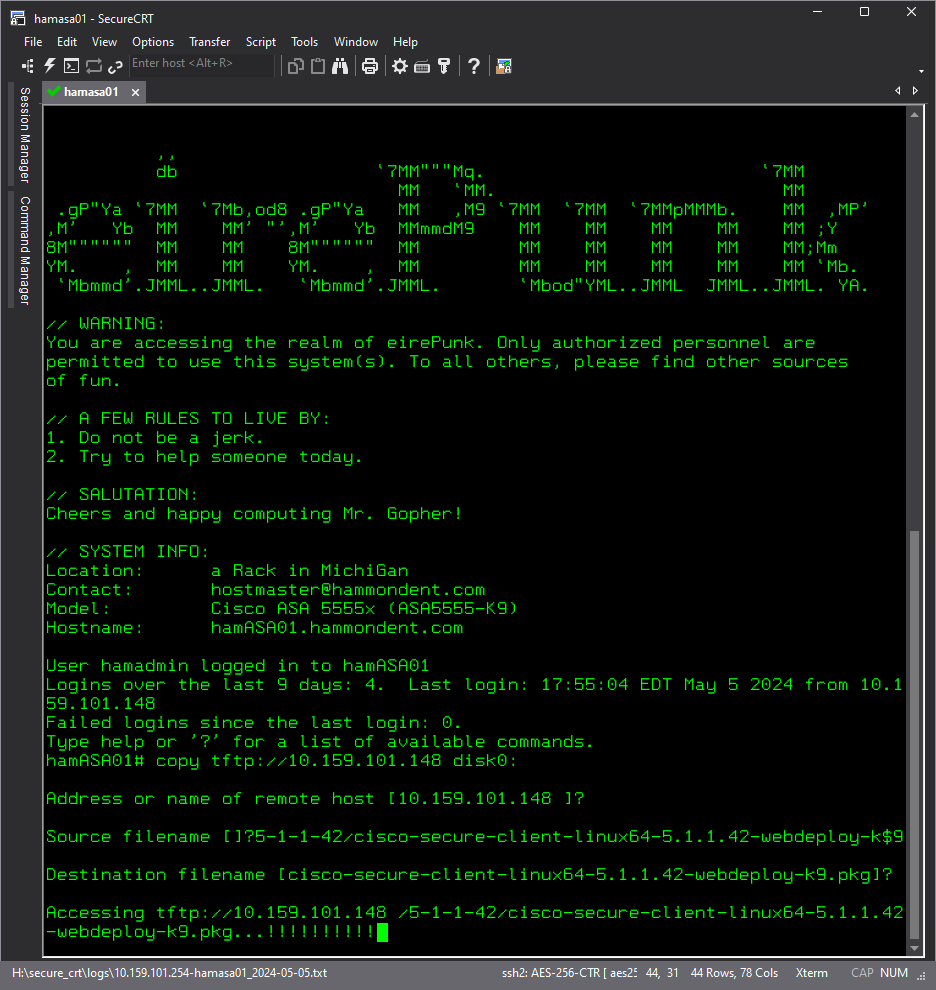
- The screenshot shows us using Secure CRT, but as discussed, this is not required. At the bottom of the screenshot, you will note we are using the Cisco command to download a VPN client package installer to the ASA.
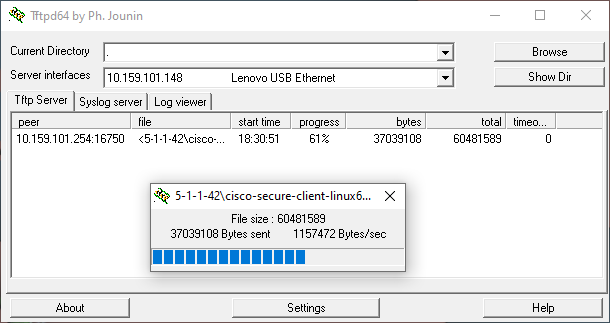
- While the file is copying from the TFTP server to the ASA (or other device), you can see a status bar on TFTP64's main screen.
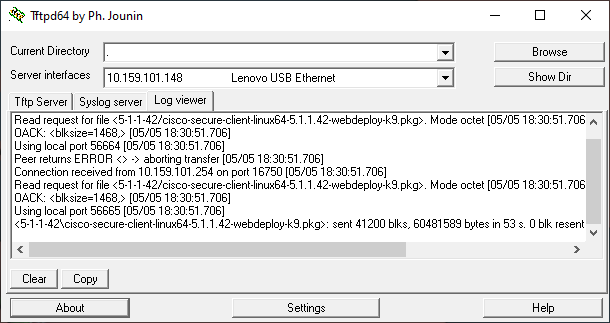
- After the file has been fully copied, you can see a detailed log on TFTP64's main screen.
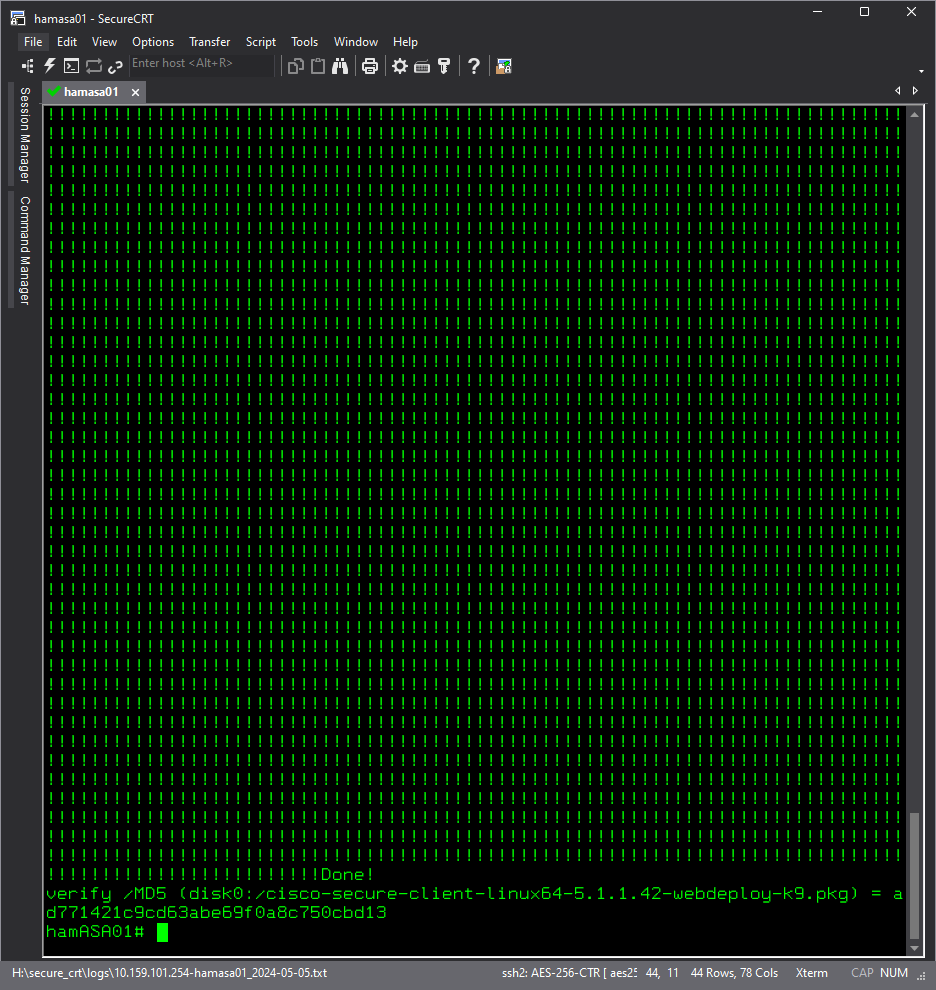
- The following screenshot shows how to use the verify command on a Cisco ASA.
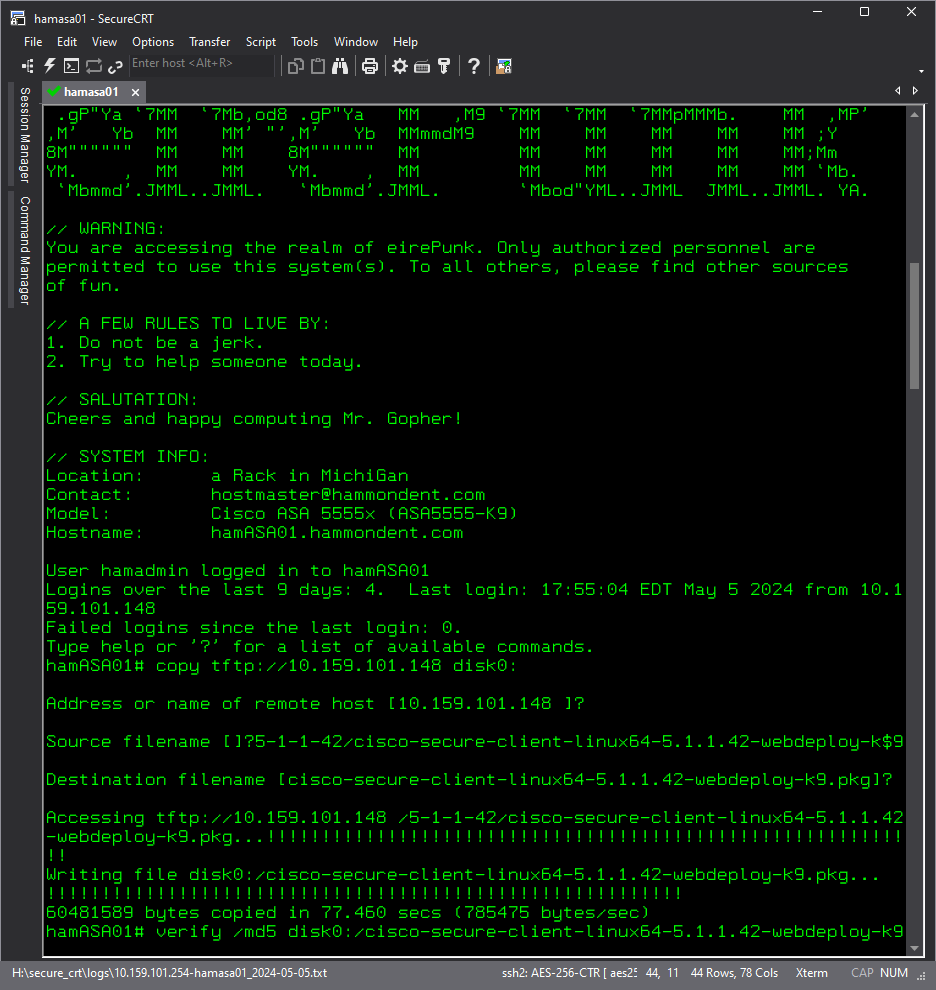
- The following screenshot shows what the verify commands output looks like.